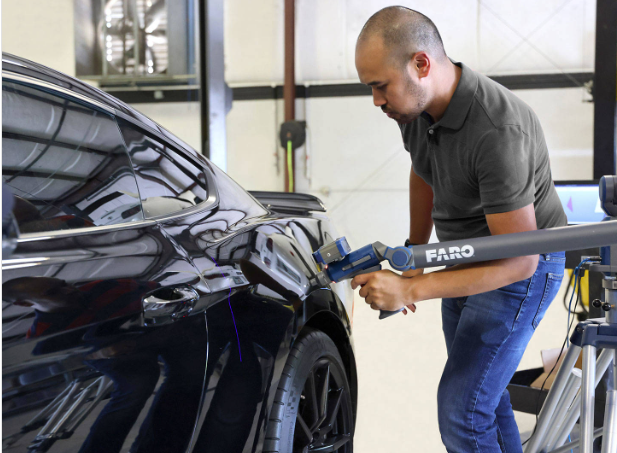
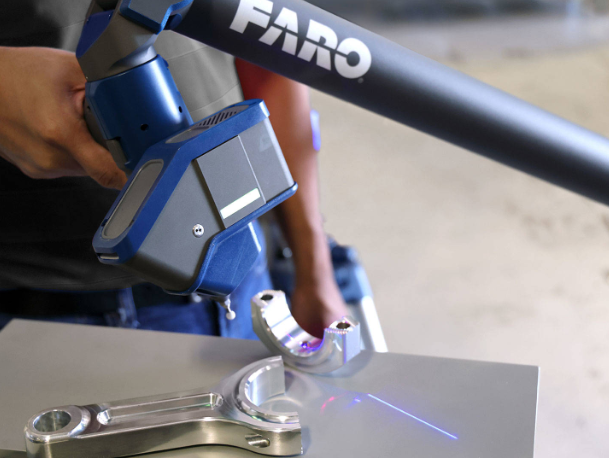
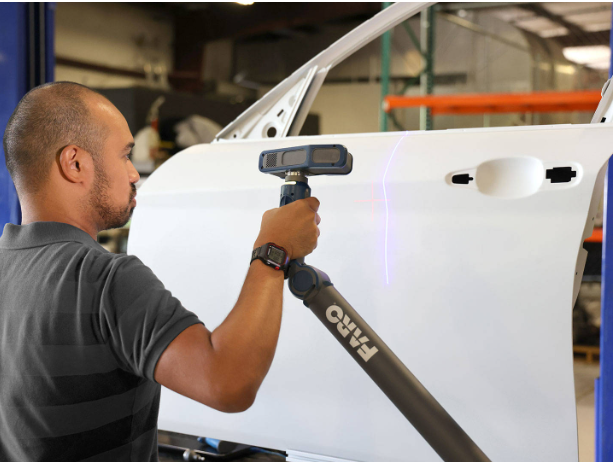
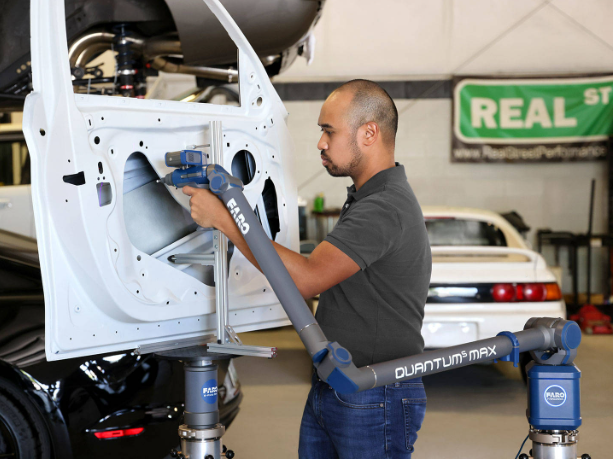
If a tool is so complex, we can’t use contact probes to capture all of its measures. By using Quantum Max Faro Arm we can easily do that job with exceptional speed and precision. The Quantum Max also delivers three LLPs that optimize accuracy, speed, or a combination of both, depending on project requirements. Whichever LLP you select, 3D ScanArms capture accurate measurements in almost any environment, from the manufacturing floor to the field.
The measuring arm’s flagship, QuantumS, offers the highest level of accuracy and performance. With a perfect price/performance ratio and the industry standard in portable metrology, QuantumM is a great choice for factory inspection duties. QuantumE provides high-quality production while providing exceptional performance at a reasonable price.
For high-precision jobs requiring close tolerances, this Laser Line Probe (LLP) is the greatest option for capturing data with the highest accuracy and highest conceivable resolution. With 1.5 times the precision, users may scan small complicated parts and fine features, enhancing manufacturing quality with better and more dependable data.
When data gathering speed is of the utmost importance, this Laser Line Probe (LLP) works best on large components or broad surface regions. Users can gather data up to 2.6 times faster than with the xR and 1.6 times faster than with the xP because of the extra-wide laser stripe, which provides twice the coverage in a single pass. Faster outcomes and greater productivity occur from fewer data collection passes.
| QUANTUM MAX SCANARMS: | Maximum Performance |
| FAROBLU XR: | Maximum Accuracy and Resolution |
| FAROBLU XP: | Maximum Efficiency |
| FAROBLU XS: | Maximum Speed |
| FAROBLU XE: | Maximum Efficiency at Entry Level |
| 8-AXIS SCANNING PLATFORM: | Faster Scanning with Any Quantum V2 ScanArm with the 8-Axis Scanning Platform |
3D Metrology Applications
During first-article, in-process, and inbound part inspections, confirm dimensional accuracy and spot deviations from normative CAD data.
Maintain the alignment and calibration of the production equipment, and check the component and tool dimensional accuracy.
Reverse engineering and quick prototyping should be expedited for faster time to market.
- Improved Inspection And Quality Control.
- Manufacturing, Assembling, And Production.
- Faster And More Precise Product Engineering And Design.
Keep Clients and Users Satisfied
Delivering products of a higher caliber that can be used with assurance makes everyone pleased and maintains client loyalty.
ScanArm Features
With LLPs, which are each hot swappable and specifically designed, you can achieve high-speed point cloud capture, high precision, or a combination of both.
Scan any opaque, reflective, or dark surfaces.
Change probes quickly and easily without having to recalibrate.
With working volumes of 2.0m, 2.5m, 3m, 3.5m, and 4m, you may satisfy the requirements of every application.
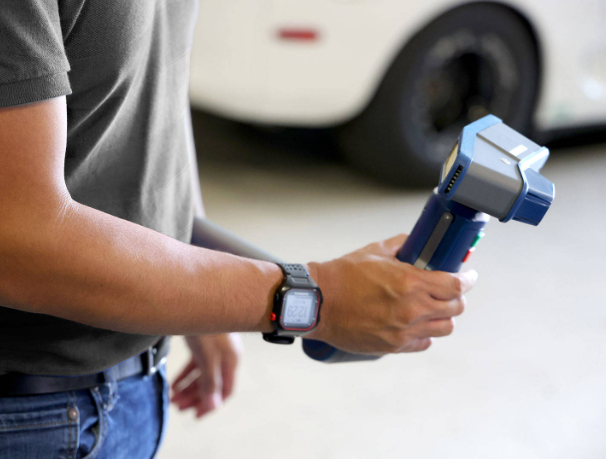
Use one hand to operate without becoming tired.
ScanArms are convenient to transport, set up, and use.
